Unboxing the OneLaser X Series: Your New Laser Engraver

Unboxing the X Series

Unbox Step

  1. Cut cable tie.

  1. After removing the carton packaging, you can move the machine to your workbench.

  1. Remove the protective film.

  1. Remove all items included and remove the inner foam.

  1. Confirm all items.
  2. Disassemble the back box and add distilled water to the water tank. If your equipment is XRF series, you can ignore steps 6-7.
    Remove the screws using an M2.5 screwdriver and take off the rear box cover. Please keep the removed screws.


  1. Locate the water tank, and use a funnel to add distilled or purified water.

After the water filling is completed, please remember install the rear cover back.
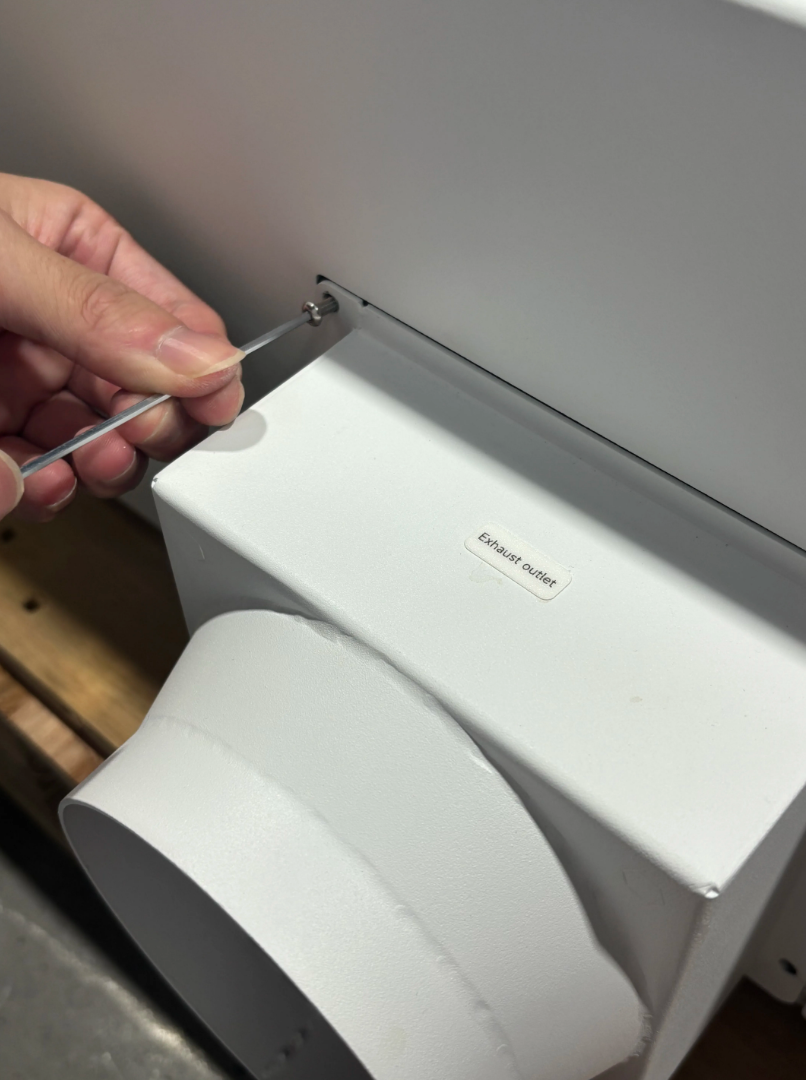
8. Installation of exhaust outlet.
First remove the screws on the plate.

Connect the 24V connector.

Install the exhaust outlet.

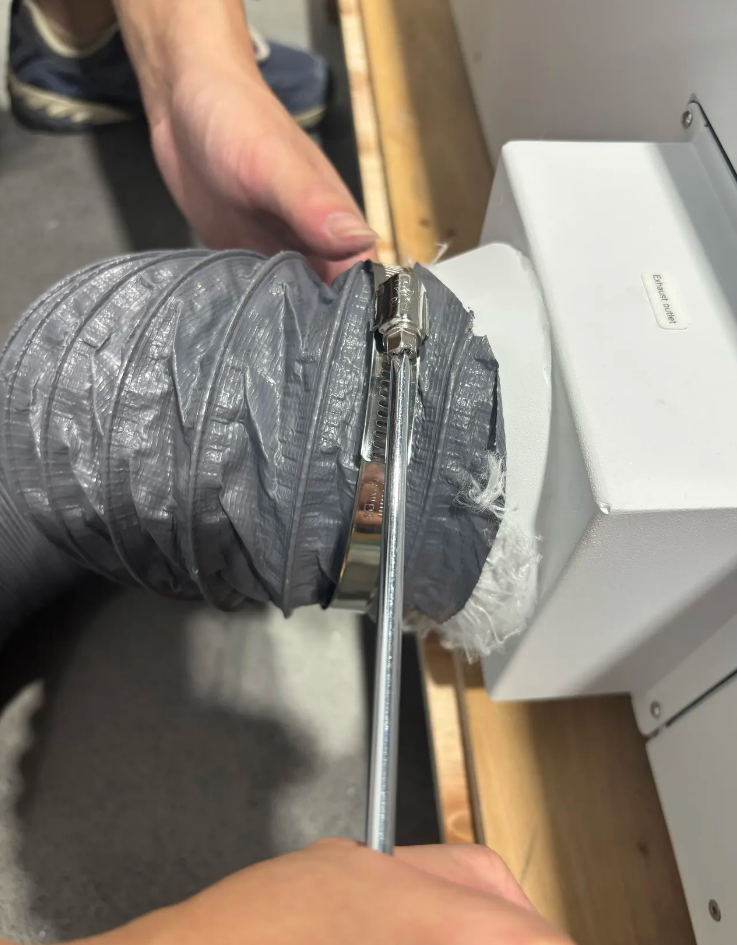
9.Install the exhaust pipe.
10.Connect the power cable, USB cable and Camera cable.


    • Related Articles

    • How to connect the Air Purifier-X series

      1.Preparation ①. Consumable preparation One Laser X model device x 1,Air Purifier x 1,Phillips screwdriver x 1 ②. Debug software None 2.Operation step ①.Install the equipment air duct to the air inlet of the purifier Use a cross screwdriver to ...
    • How to Install the Base for X Series

      Understand the Riser Base Assemble the raiser base
    • X Series Glossary

      Front and Rear View 1.Camera This component is used to checking the working status of working area. 2.Laser Head Laser beam comes out from it. 3.Touch Panel This component is used to control the machine, such as movement, run files. 4.PM2.5 Detector ...
    • X-axis motor replacement

      Tools Required M2, M2.5, M3 hexagonal wrenches; M7 open-end spanners; tie wraps; brand new X-axis motor Note: Please complete the following operations in the power-off state, and keep the removed screws properly to avoid losing them Disassembly of ...
    • X axis motor replacement

      Tools to be prepared M3, M2.5 hexagonal wrench, 5MM plum wrench NOTE: Please complete the following operations under power failure and keep the removed screws properly to avoid loss. Disassembling the X-axis motor 1. Unscrew the two right side belt ...