Attention
The camera can only communicate via USB cable.
Operation Guide
- After switching on the machine, connect your computer to the machine using the USB cable and the camera cable.
- Start the LightBurn software and confirm that the machine is communicating successfully with the software. If the 'Ready' sign is displayed, communication has been successful.
Absolute coordinates are recommended to ensure more accurate processing.
- Remove the cover from the camera.
4.Place the paper from which the pattern is to be extracted on the honeycomb bed and close the top cover of the machine after completing the autofocus.
 Note:It is recommended to place the paper on a hard board to prevent it from being pressed into the honeycomb board holes due to its thinness while the laser head is completing autofocus, which could cause distortion of the paper.
 5.Click on 'Camera Control' to open the camera function. 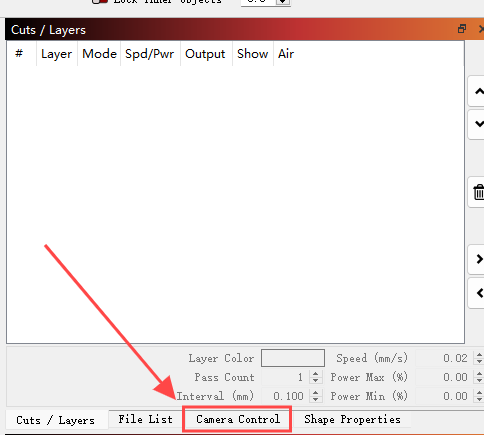
6.In camera selection, select the camera with the name corresponding to the LightBurn camera.
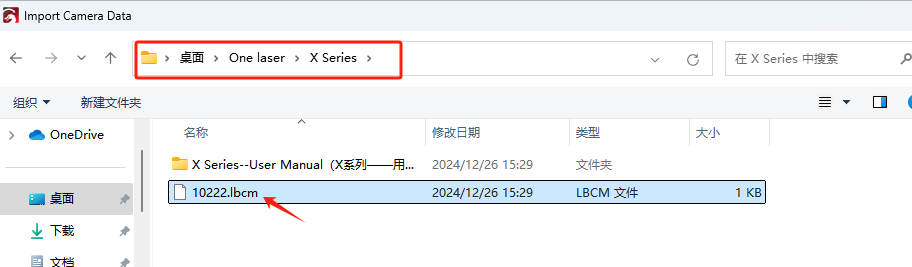
7.Clicking the right mouse and select 'Import Camera Settings' to import the camera calibration file from the U disk. 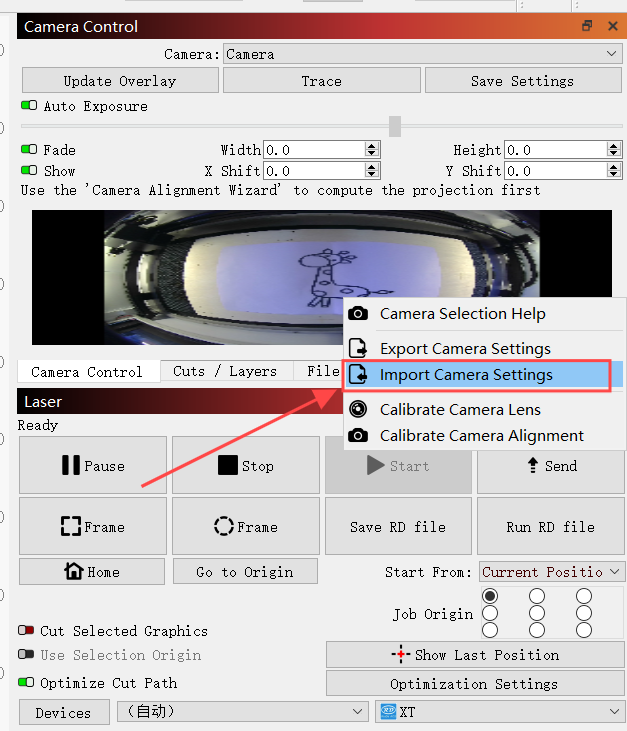
8.Click 'Update Overlay' to have the paper with the pattern updated on the canvas.
9.Click 'Trace' to select the range of pattern to be extracted by adjusting the threshold. After the adjustment, click 'OK' to capture the pattern.
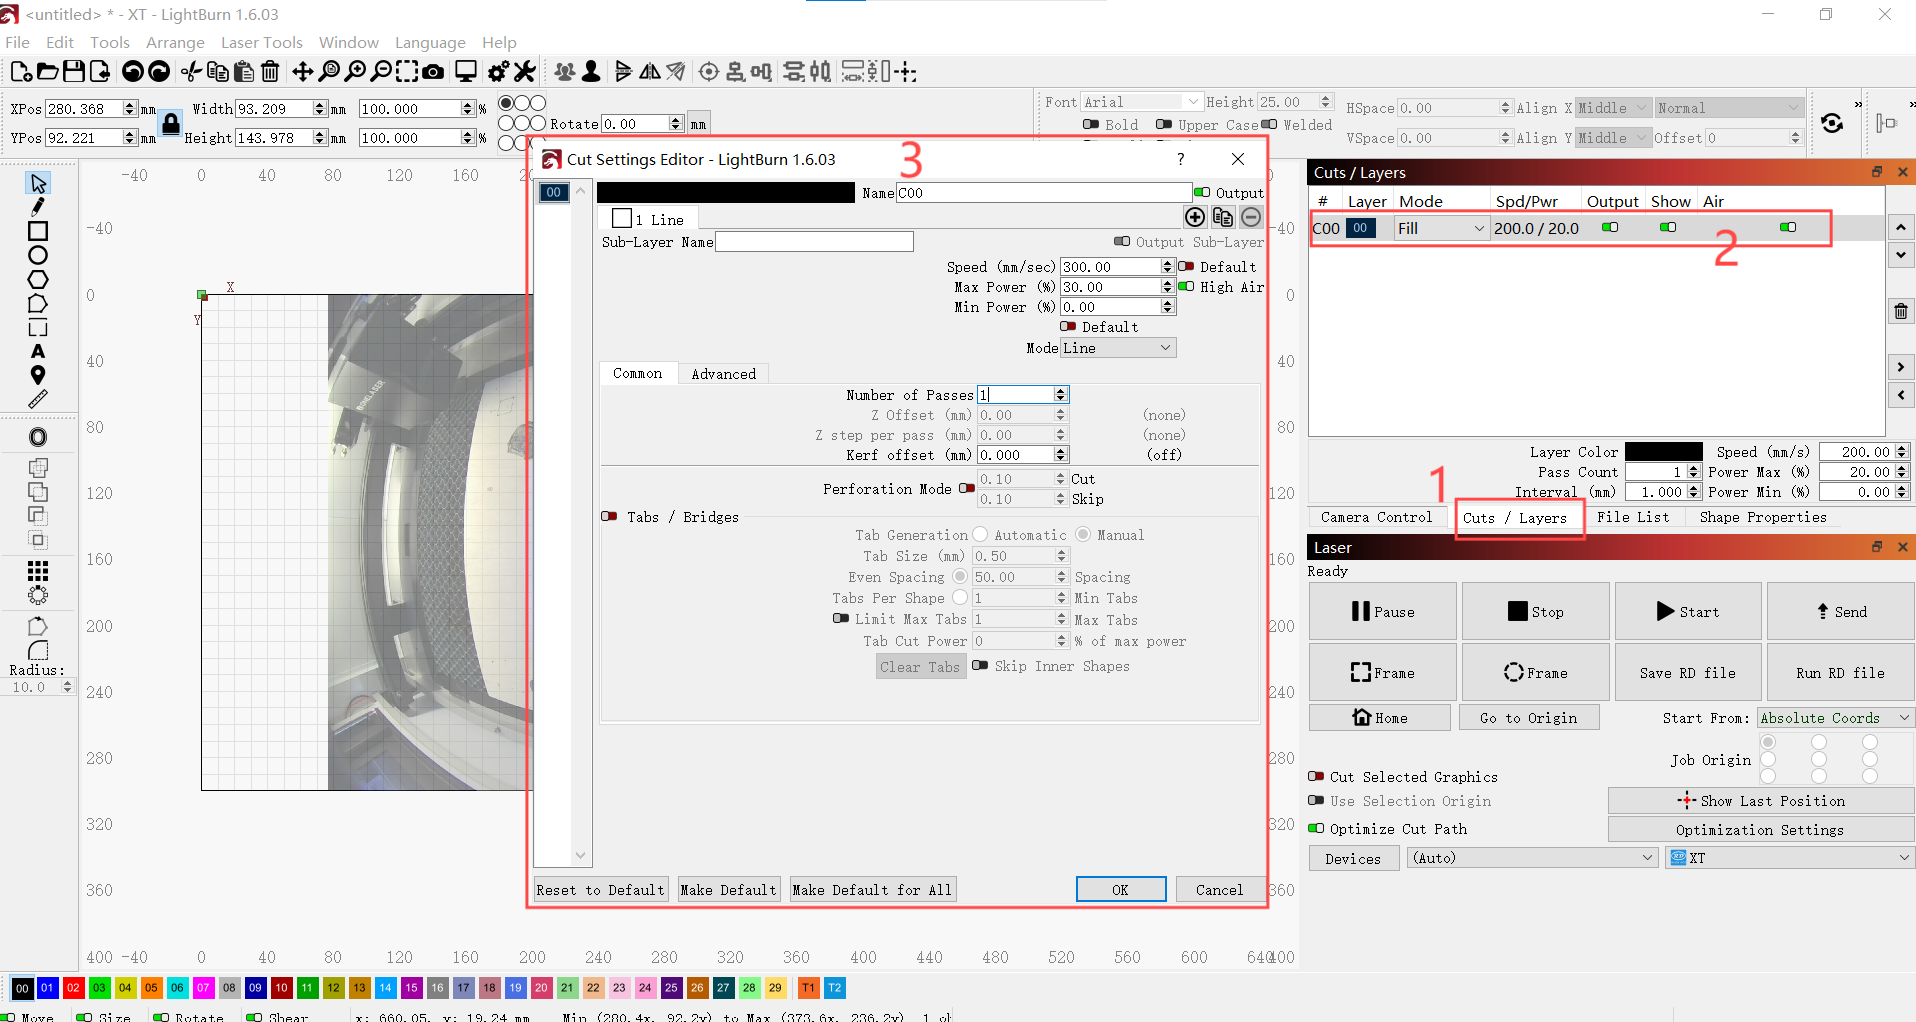
10.After selecting the pattern just extracted, set the processing parameters and click 'Frame' , you can start processing.